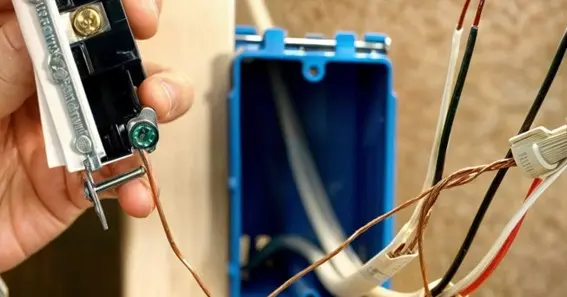
A 3-way switch allows control of a light fixture from two different locations, making it perfect for areas like staircases, long hallways, or large rooms. Understanding the wiring schematic for a 3-way switch is crucial for proper installation and troubleshooting. This guide walks you through the process step-by-step, ensuring a safe and efficient setup.
What You Need To Know About A 3-Way Switch
A 3-way switch consists of two switches that control a single light fixture. Each switch has three terminals: a common terminal and two traveler terminals. The wiring involves a combination of hot wires (typically black), neutral wires (white), and traveler wires (red or black), which enable the switches to communicate and control the light from either location.
Tools and Materials Required
- Voltage tester
- Wire stripper
- Screwdriver
- Wire connectors
- Electrical tape
- 3-way switches (2 units)
- 14-3 NM cable (includes black, white, red, and ground wires)
Step-by-Step Wiring Process
- Turn Off the Power: Always start by shutting off power at the circuit breaker to avoid accidents. Use a voltage tester to confirm there is no power running to the switch.
- Identify the Wires:
- Hot wire (black): Carries current from the power source.
- Traveler wires (red/black): Connect the two switches.
- Neutral wire (white): Completes the circuit to the fixture.
- Ground wire (bare/green): Provides a safe path in case of a fault.
- Wire the First Switch:
- Connect the ground wire to the green screw.
- Connect the hot wire to the common terminal (often a darker-colored screw).
- Attach the traveler wires to the brass terminals. It doesn’t matter which traveler wire goes to which brass terminal.
- Wire the Second Switch:
- Connect the ground wire as before.
- Attach the remaining traveler wires to the brass terminals.
- Connect the wire leading to the light fixture to the common terminal.
- Connect the Light Fixture:
- Attach the neutral wire (white) from the switch to the light fixture’s neutral terminal.
- Connect the black wire from the switch to the fixture’s live terminal.
- Secure the ground wire to the light fixture’s grounding screw.
- Test the Setup: Restore power at the circuit breaker and test both switches. They should be able to toggle the light fixture on and off from either location.
Common Mistakes and Troubleshooting
- Traveler wires switched: Ensure the traveler wires are connected to the brass terminals and not mixed with the common wire.
- Loose connections: Verify all screws are tightly fastened and wires are secure.
- Testing: If the light does not function correctly, turn off power and double-check the connections.
Safety Tips
- Always follow local electrical codes.
- Use proper tools and wear safety gear.
- If unsure, consult a licensed electrician for assistance.
FAQs
- What is the main function of a 3-way switch? A 3-way switch controls a single light fixture from two different locations.
- Where should 3-way switches be installed? They are ideal for areas with multiple access points, such as staircases, large rooms, or hallways.
- What is the difference between a 3-way switch and a single-pole switch? A 3-way switch has three terminals for controlling a light from two locations, while a single-pole switch controls from one location.
- Can a 3-way switch be used like a regular switch? Yes, by connecting the common terminal and one traveler terminal, but this setup is generally unnecessary.
- Do I need to hire an electrician to install a 3-way switch? If you’re unfamiliar with electrical work, it’s best to consult a licensed electrician to ensure safety.


